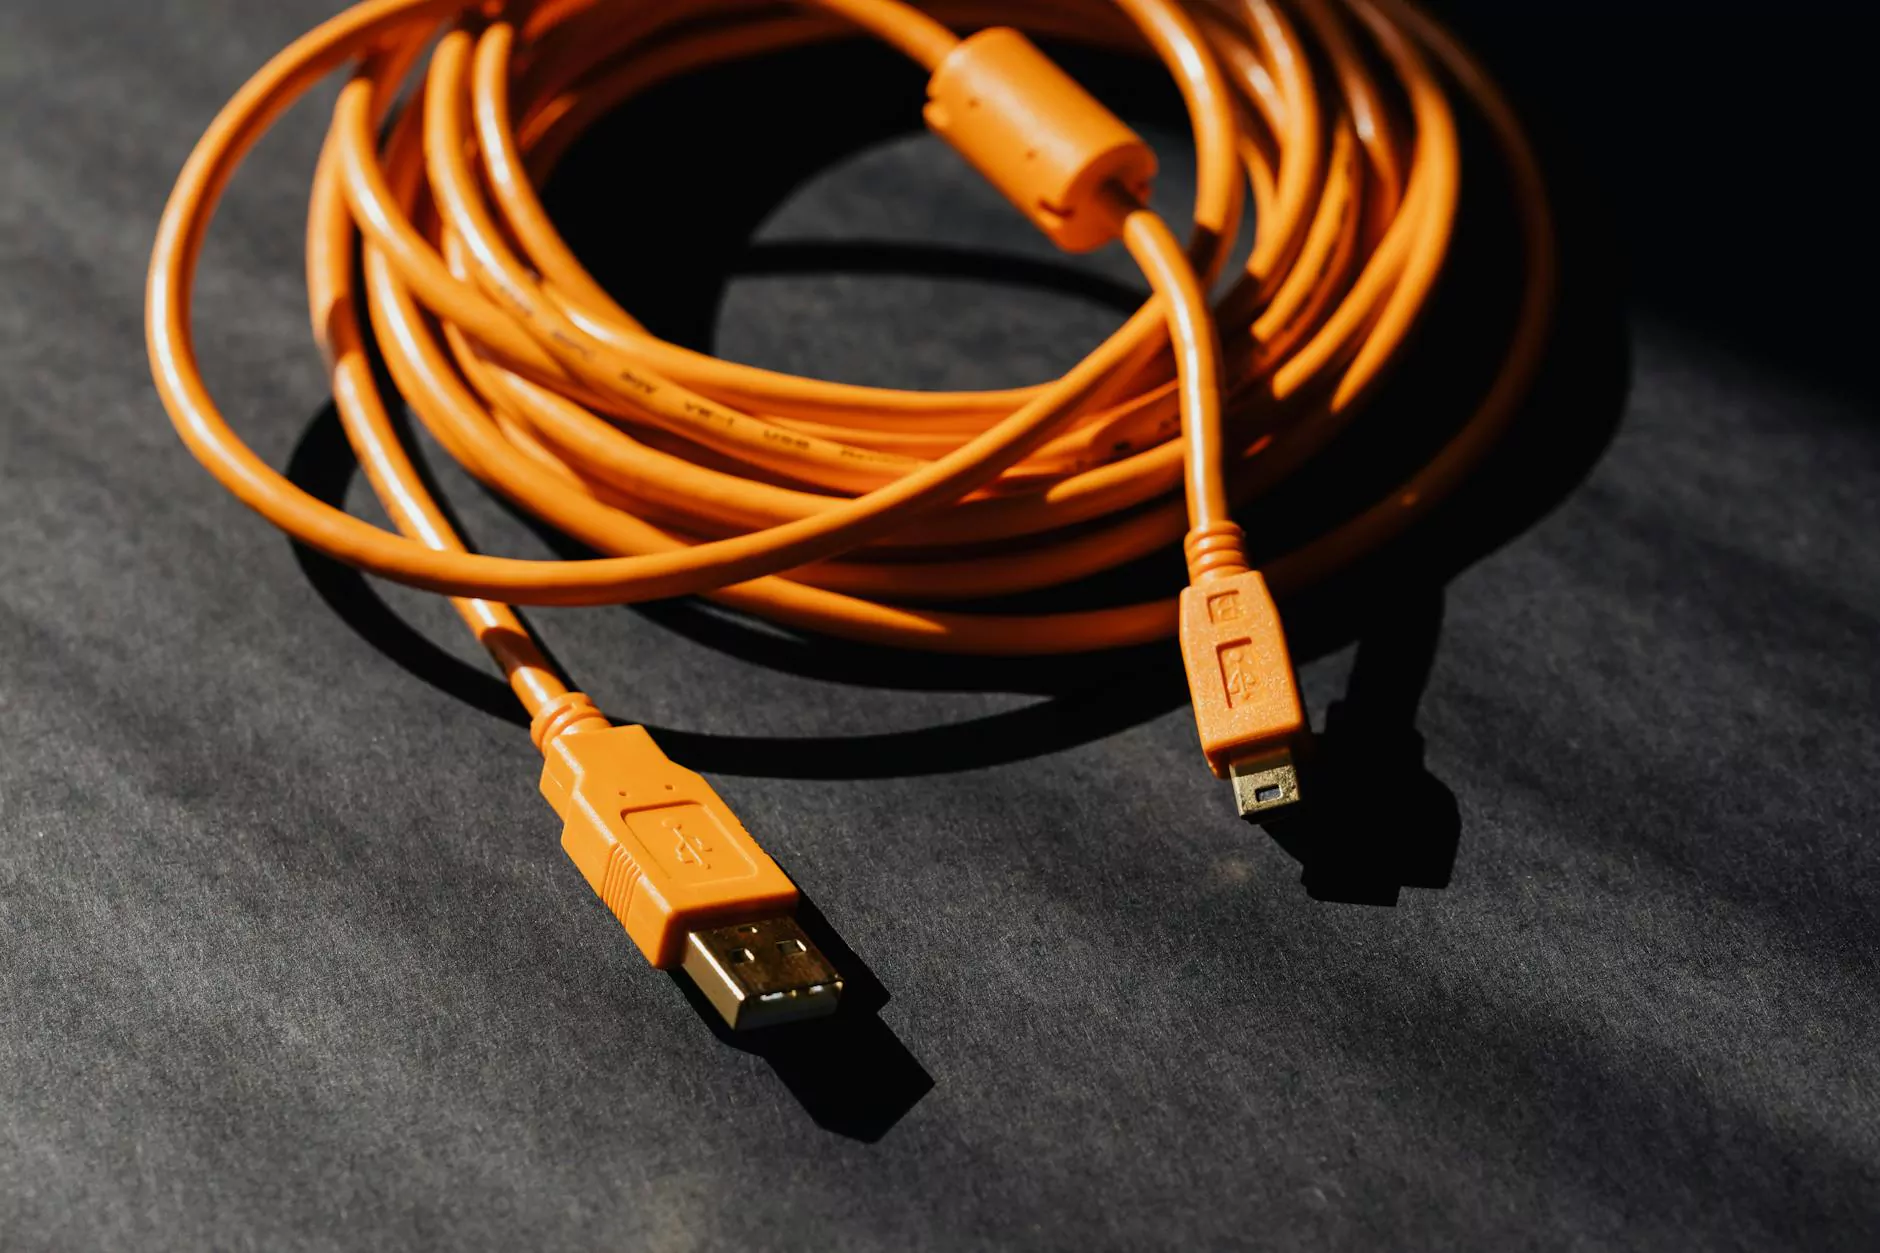
Removing Write Protection from a USB Drive: Tips and Tricks

Dealing with a write-protected USB drive can be frustrating, especially when you need to transfer files or make changes to the drive. However, with the right knowledge and tools, you can easily disable write protection on your USB drive. In this comprehensive guide, we will explore various methods to remove write protection from a USB drive.
Understanding Write Protection
Write protection is a security feature that prevents unauthorized users from modifying the contents of a storage device. When a USB drive is write-protected, you cannot write new data, delete existing files, or format the drive without disabling the write protection first.
Common Reasons for Write Protection
There are several reasons why a USB drive may become write-protected. It could be due to a physical switch on the drive itself, a software issue, or a registry setting on your computer. Understanding the root cause can help you choose the appropriate method to remove the write protection.
Methods to Remove Write Protection
1. Check for Physical Write Protection Switch: Some USB drives come with a physical switch that can enable or disable write protection. Locate this switch on your drive and ensure it is in the unlocked position.
2. Use Diskpart Command: You can use the Diskpart command in Windows to remove write protection from a USB drive. Open Command Prompt as an administrator, type "diskpart", and follow the on-screen instructions to clear the write protection.
3. Modify Registry Settings: Editing the registry settings on your computer can also help remove write protection from a USB drive. Be cautious when making changes to the registry, as incorrect modifications can cause system errors.
Step-by-Step Guide to Disable Write Protection on USB Drive
- Insert your write-protected USB drive into the computer.
- Open Command Prompt as an administrator.
- Type "diskpart" and press Enter.
- Type "list disk" and press Enter to view a list of all connected disks.
- Identify your USB drive by its size and note the disk number (e.g., Disk 1).
- Type "select disk X" (replace X with your disk number) and press Enter.
- Type "attributes disk clear readonly" and press Enter to remove write protection.
- Close Command Prompt and safely eject the USB drive.
Conclusion
Removing write protection from a USB drive is essential for managing your files effectively. By following the methods outlined in this guide, you can successfully disable write protection and regain control over your USB drive. Remember to back up your data before attempting any write protection removal methods to avoid data loss.